

I’ve had this dream of making shelves out of pallet wood for a while now. Since there are so many unused pallets all over the city, it makes sense to reuse their wood rather than buying new wood at a lumber yard the way it makes sense to buy clothes from a thrift store instead of buying it new- because the item has already been made and used, you’re not directly contributing to deforestation or human rights abuses by buying new things for cheap.

So a few weeks ago I picked up some pallets and got to work cutting them to size. I was going to make a shelf that fit perfectly in the space under my window in the kitchen. To store my craft supplies and sewing machine and to serve as additional counter space. Here’s how I did it, with the awesome help of our friends at Tri-Lox.
What you’ll need:
- a wooden pallet or two (make sure the pallets you’re using are safe. A number of resources will give you further information on this, but you don’t want to use chemically treated or moldy pallets for obvious reasons. For more info check out this link)
- an electric saw - to cut the wood to shape. Some pallets, including the ones I was using, are riddled with screws so it might be worth using an electric saw that can cut through screws, or else you’ll have to avoid the screws all together.
- an electric sander to sand the wood. Otherwise a regular block of wood with sandpaper on it might be far too time consuming.
- a nail gun, as a hammer and nails may put too much pressure on the interior frame.
- stain or finish (optional) - I kept mine raw but may stain it in the future.

1. Get your pallets. Be careful where you get them from and if it looks like they’re on someone’s property, you’ll need to ask before taking them.

2. Take your measurements. If you can avoid using wood that has nails through it that will help, because you can skip a step of removing the nails. So measure carefully and make marks on where to cut.
3. Roughly assemble where the shelf will go, making sure that you’ll have enough wood for the top, bottom, and sides.
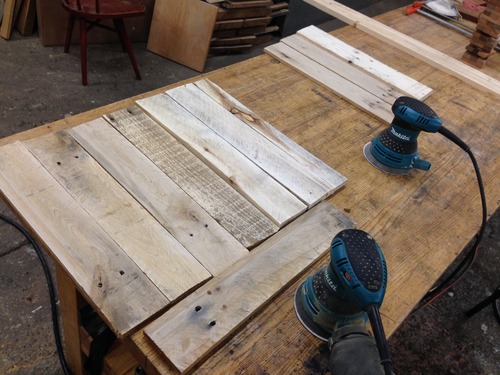
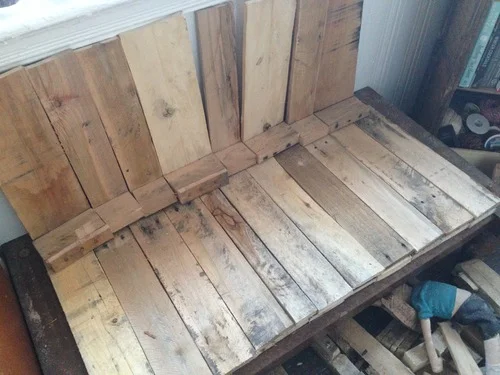
4. Sand the wood. Most of the wood may be dirty and/or splintery so you’ll want to get that layer off first.

5. Lay out the pieces of wood into each of the parts. Align the top, bottom, and side slats.

6. Build an interior frame to affix the wooden slats to. The outside measurements should be approximately 2 inches shorter in length and width than the final shelf needs to be, since the slats of wood will be going on the outside.

7. Affix the wooden slats to the interior frame with a nail gun. And here you have it! If you’re not into the raw look, since you’ve already sanded it, you can go ahead and stain it but I decided to keep mine plain.
HUGE THANKS to our buds at Tri-Lox, who run an amazing and inspiring business, working mainly with reclaimed wood to create stunning interiors and furniture. They’re used to working on pretty big projects so it was really cool of them to help me with my little pallet wood idea. Check them out!